For developers and QA engineers, SonarQube should be a familiar tool, a comprehensive service for automated code review that detects bugs, vulnerabilities, and code quality issues. It has become an essential part of modern development workflows, helping teams maintain clean, secure, and maintainable codebases.
SonarQube has been released on Docker Hub, which means we can easily leverage its capabilities through Docker containers without complex setup procedures. We no longer need to manually install web servers, databases, or Java SDKs on our local machines. Everything is conveniently bundled into a single SonarQube Docker image, making deployment straightforward and consistent across different environments.
In this guide, we'll walk through the complete process of installing and running SonarQube locally using Docker, and then integrating it with your local projects for automated code analysis.
A. Running SonarQube from Docker
1. Pull the Required Images
As with any Docker workflow, we first need to pull the necessary images from Docker Hub. We'll need both the SonarQube server image and the Sonar Scanner CLI image for analyzing our code.
Pull the SonarQube server image:
docker pull sonarqube:latest
Pull the Sonar Scanner CLI image:
docker pull sonarsource/sonar-scanner-cli:latest
These commands will download the latest versions of both images to your local Docker registry. Depending on your internet connection, this may take a few minutes as the images are relatively large.
2. Run the SonarQube Container
Now we'll create and run a container using the SonarQube image we just pulled. In this example, I'm exposing the service on port 9001 (the default port is 9000, but you can customize this to avoid conflicts with other services):
docker run --name sonarqube -p 9001:9000 sonarqube
This command creates a container named "sonarqube" and maps port 9001 on your host machine to port 9000 inside the container. The container will start, and you'll see initialization logs in your terminal. Wait until you see messages indicating that SonarQube is fully operational before proceeding.
If you want to run the container in detached mode (in the background), add the -d flag:
docker run -d --name sonarqube -p 9001:9000 sonarqube
3. Access SonarQube in Your Browser
Open your web browser and navigate to http://localhost:9001. You should see the SonarQube login page.
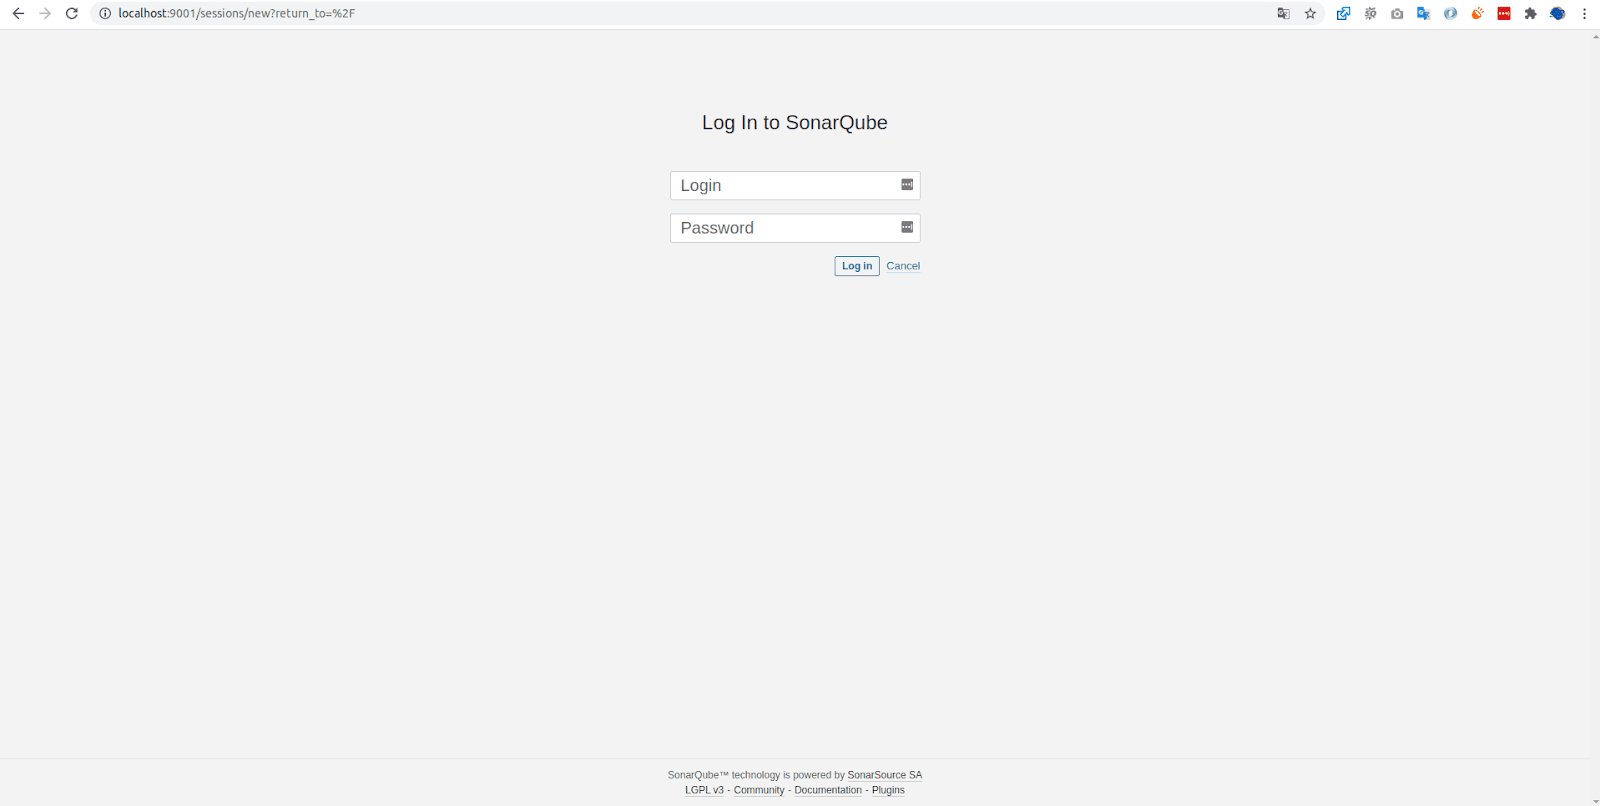
Use the default credentials to log in:
- Username: admin
- Password: admin
Upon your first login, SonarQube will prompt you to change the default password for security purposes. Choose a strong password and store it securely, as you'll need it for future access.
B. Running Local Projects with SonarQube
Now that SonarQube is up and running, let's configure it to analyze a local project.
1. Create a New Project

In the SonarQube web interface, create a new project and generate an authentication token. For this example, I have a Laravel project called "Travellist Demo". I'll name my SonarQube project identically to match my Laravel project name for easier identification and management.
Follow these steps in the SonarQube interface:
- Click on "Create Project" or the "+" icon
- Choose "Manually" as the creation method
- Enter your project key (e.g., "travellist-demo")
- Enter your project display name (e.g., "Travellist Demo")
- Click "Set Up"
- Generate a token for authentication and copy it—you'll need this in the next step
2. Run the Sonar Scanner
Navigate to the root folder of your project in your terminal, then execute the Sonar Scanner using the following Docker command:
docker run --rm -v "$(pwd):/usr/src" sonarsource/sonar-scanner-cli \
  -D sonar.projectKey=YOUR_PROJECT_KEY \
  -D sonar.host.url=http://172.17.0.2:9000 \
  -D sonar.login=YOUR_TOKEN
Replace YOUR_PROJECT_KEY with the project key you created in SonarQube, and YOUR_TOKEN with the authentication token you generated.
Important Notes:
The host URL http://172.17.0.2:9000/ is the default internal Docker network address for the SonarQube container. However, this IP address may vary depending on your Docker network configuration. To verify the correct IP address of your SonarQube container, run the following command:
docker inspect -f '{{range.NetworkSettings.Networks}}{{.IPAddress}}{{end}}' sonarqube
This will output the actual IP address of your running SonarQube container. Use this IP in the sonar.host.url parameter.
Alternative Approach: If you're having trouble with container networking, you can also use Docker's host network or create a custom Docker network to link the containers more reliably.
3. Analysis Complete
If the scan executes successfully, you'll notice several changes:
-
A
.scannerworkfolder will be automatically created in your project's root directory. This folder contains temporary files and cache data used by the scanner. -
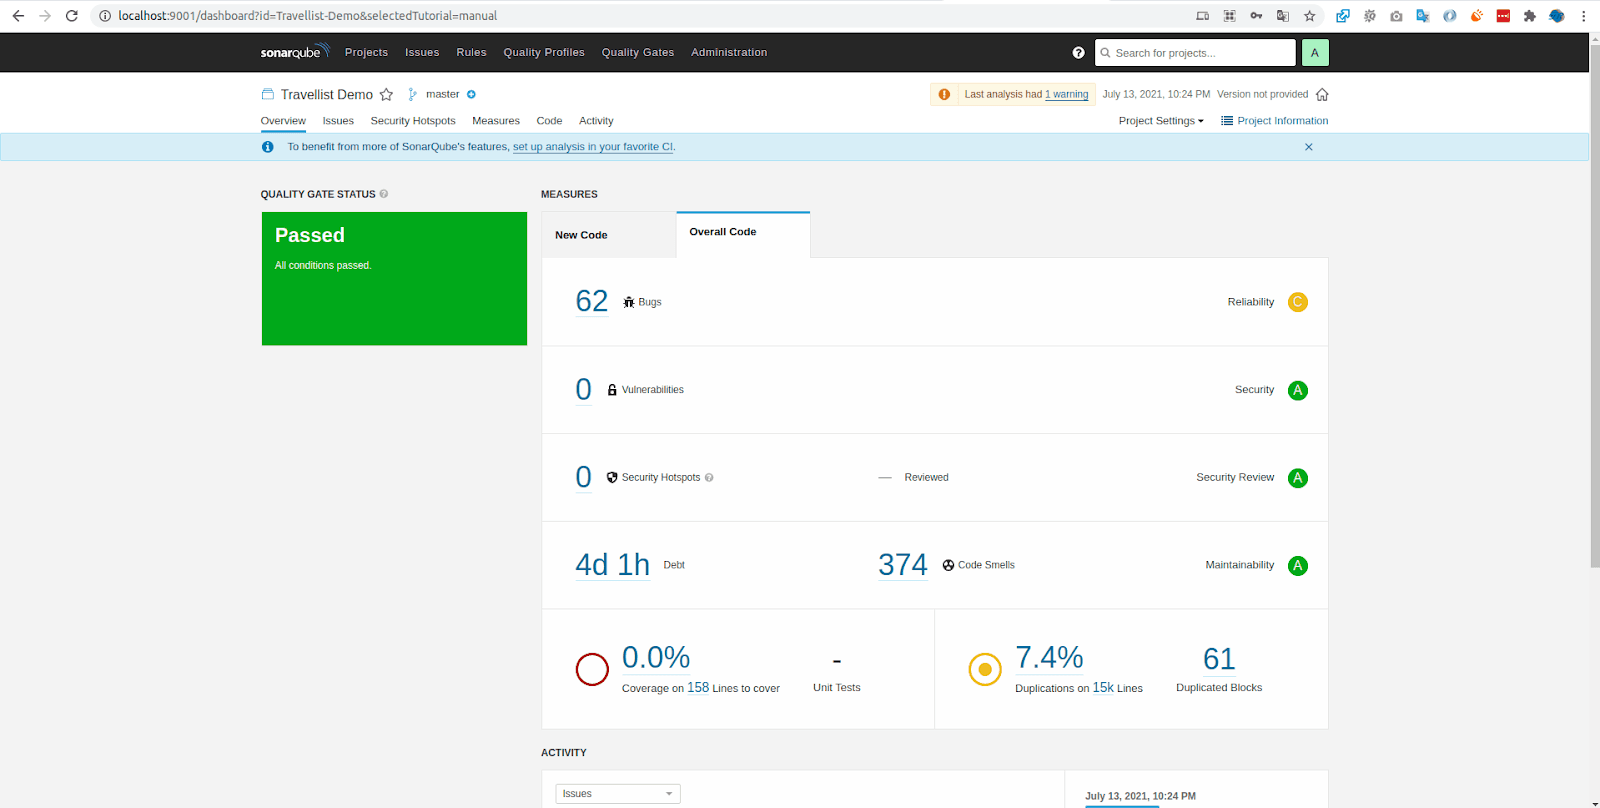
In the SonarQube web interface, you'll be automatically redirected to your project's dashboard, where you can view the analysis results.
-
The dashboard will display various metrics including bugs, vulnerabilities, code smells, code coverage, duplications, and overall code quality ratings.
You can now explore the detailed analysis, drill down into specific issues, and review recommendations for improving your code quality. SonarQube provides line-by-line annotations showing exactly where issues exist and often includes suggestions for remediation.
Additional Tips
To make your workflow more efficient, consider these additional practices:
-
Persisting Data: Use Docker volumes to persist SonarQube data across container restarts:
docker run -d --name sonarqube -p 9001:9000 -v sonarqube_data:/opt/sonarqube/data sonarqube -
Regular Scans: Integrate SonarQube scanning into your CI/CD pipeline to automatically analyze code with every commit or pull request
-
Quality Gates: Configure quality gates in SonarQube to enforce minimum code quality standards before allowing code to be merged
That's how you run SonarQube for local projects through Docker! This setup provides a powerful, isolated environment for continuous code quality analysis without cluttering your development machine with additional software installations. By leveraging Docker, you can easily start, stop, and manage SonarQube alongside your other development tools, ensuring your code maintains high standards throughout the development lifecycle.
I hope you find this guide helpful! Thank you for reading!